
The settings available in this section apply to the Form Designer and its various features.
They are subdivided as follows:

If you are using the Clipboard to copy and paste controls you can specify where the controls should be positioned after a paste command. Select Absolutely if the should have the same coordinates as the original control, or specify an offset that suits your needs.

This setting applies to the Property Grid. Activating it will provide you with a small editor window for text properties. The window is very helpful for editing longer texts, such as error messages.

Activating this setting will allow the program to automatically assign a name to a checkbox based on the value entered in its "Text" property. This works in both the Property Grid and the QuickProperties Editor. You can specify the maximum length of the text to be used for the name; any characters exceeding this value will be truncated. A configurable prefix will be added at the beginning of the name.
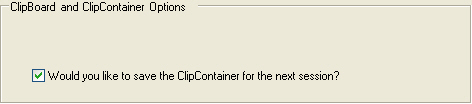
Specify whether you want the Clipcontainer contents available across program starts. If deactivated, the content of the Clipcontainer will be deleted when you close the program.
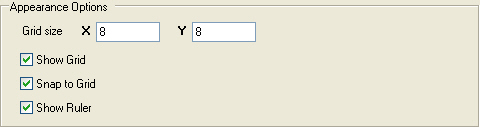
Here you can customize the Form Design Area . Change the size of the grid and enable or disable grid features or the ruler.

The Design Explorer displays its information in a tree-structure. These settings allow you to customize its behavior. Auto-Collapse will close any open tree nodes as soon as you open a new one, whereas Auto-Expand automatically opens any available child-nodes once you select a parent node with the mouse.
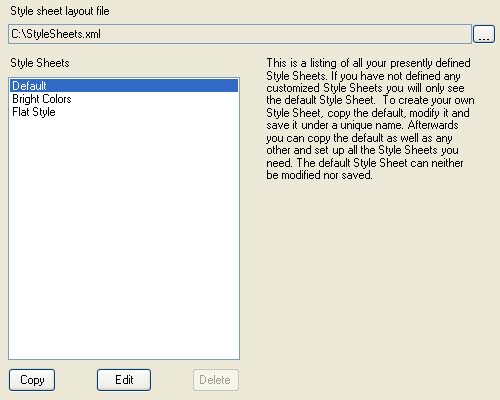
This section lists the application's default style sheet and all the style sheets you have created yourself. All of the style sheet information is stored in an XML file. If you wish you can browse to and select a different file using the button next to the Style sheet layout file text box.
Further information on how to create and configure style sheets can be found in Creating and editing style sheets via the program options in the Form Designer help.
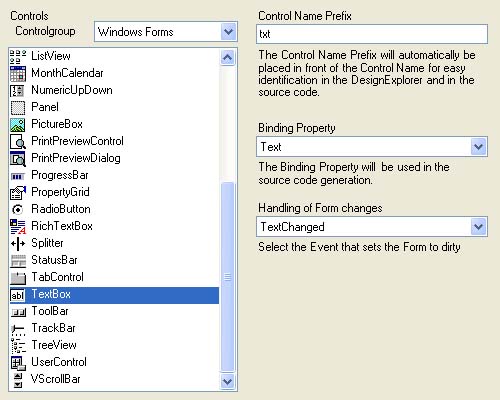
In this section you can specify a number of data binding-related settings for each of the Windows Forms controls. Activate a control in the pane on the left and view or edit its corresponding properties in the textbox and drop-down lists on the right.
The value entered in the Control Name Prefix field determines the prefix appended to a control when it is bound to a business class property. Thus, a TextBox control bound to the FirstName property of a Customer class would be set to <prefix>FirstName, where <prefix> is the value you specified.
The Binding Property drop-down list holds all the bindable properties of the control that is selected in the pane on the left. Pick the one you want the business class property to be assigned to.
Handling of Form Changes lists all the events a control can raise. Choose the event you want to employ for setting the form to dirty.
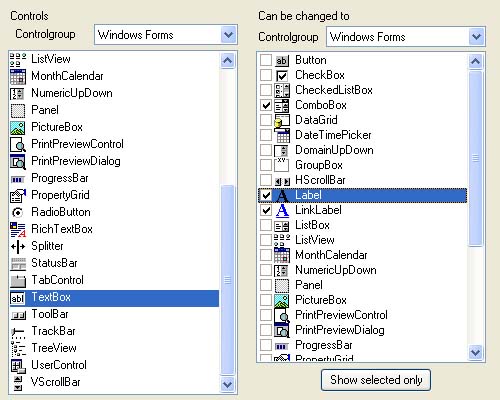
The Forms Designer provides a convenient method to switch between control types as described in Form Design Area.
Select any control in the list on the left and mark the desired alternatives in the list on the right. Clicking on "Show selected only" will display only the controls you have selected.
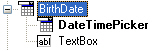 The Form Designer contains a group in the Toolbox called Business Class. It displays the properties of a business class along with a proposed set of control types each property can be bound to. The program provides alternative control types to the default and allows you to change the way a business class property is represented by simply dragging the alternative control onto the form you are working on. You can control the specifics of this behavior by making any necessary adjustments in this section.
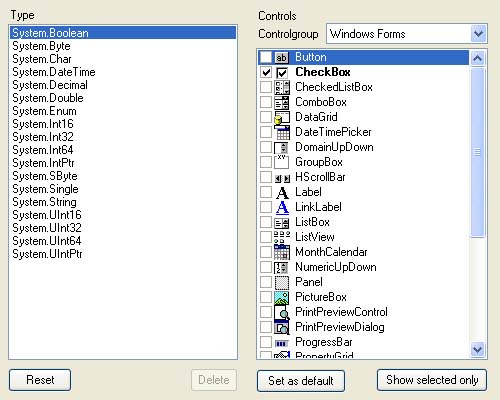
Select any of the intrinsic .NET Framework datatypes in the list on the left and choose one or more controls from the list on the right to represent this type visually. Click on "Show selected only" to display only the controls you have selected and hide all others.